Introducing images and video in H2O
Spurred in part by the remote learning environment of the past year, educators have increasingly come to rely on H2O as a primary teaching tool and have been eager to incorporate more of their open educational content in one place. Today we’re announcing that H2O authors now have the ability to upload images and embed videos in their casebooks alongside other materials like cases, U.S. code, text, and links.
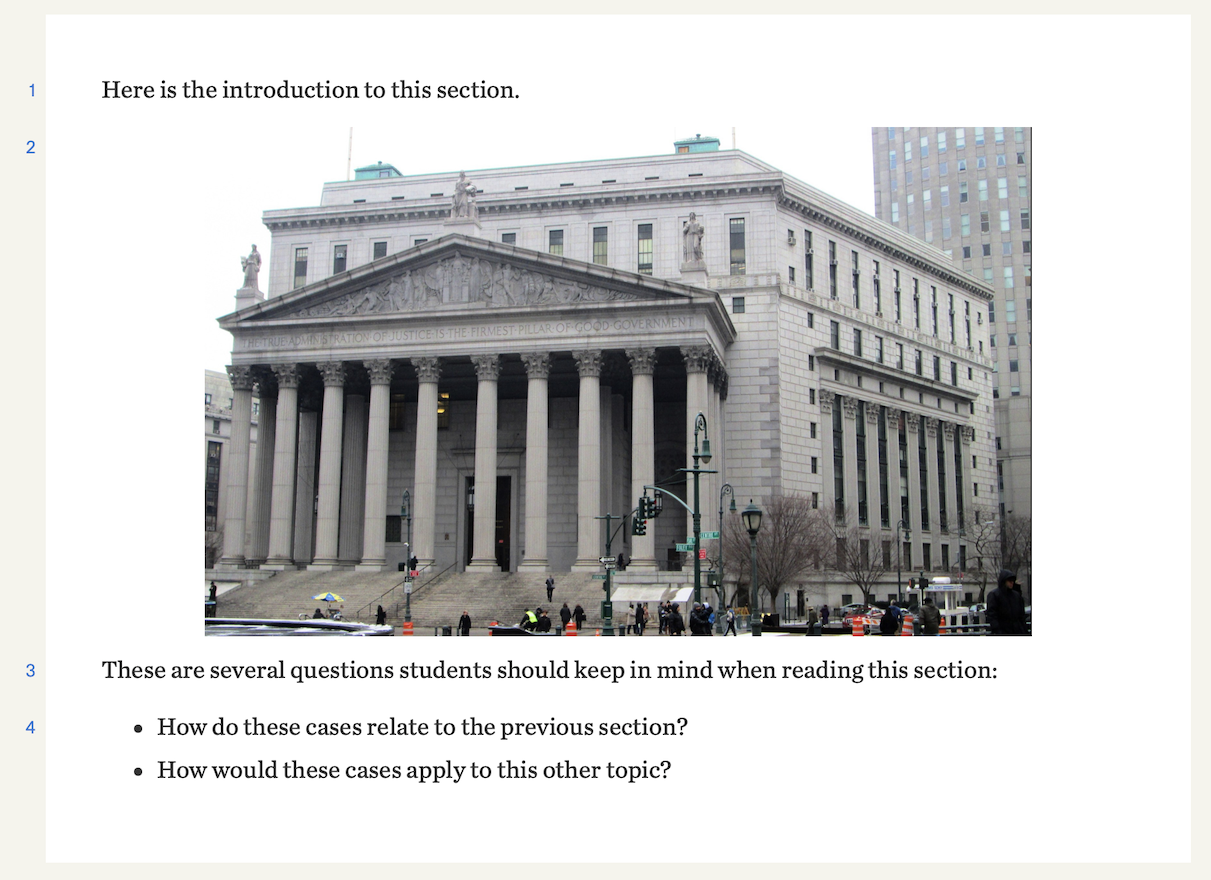
With these new multimedia options in H2O, authors are able to use the text editor to upload images like flowcharts, sketches, photographs, and anything else that helps them support a concept in their book (see sample image below). Authors are also able to embed any video from Vimeo or YouTube they’d like to use to illustrate a topic they are teaching. This includes their own video lectures, but could also include other publicly available videos related to their topic.
Complementing this change, we have adapted our “Text” resources to be called “Custom Content”. These resources now feature a responsive tag that will adapt based on the type of content authors include. For example, a resource that only includes text will be tagged as such in the main casebook view.

A resource that includes video or images will instead be tagged as multimedia.

Authors can use these tools within any text editor in their books. Follow the steps below to get started, and please be in touch with us at info@opencasebook.org with questions or comments.
Adding Images:
- Navigate to the “Edit” tab of an existing resource, or create a new Custom Content resource.
- Click into the text editor where you want to add an image, and then click the three dots along the formatting bar at the top. From there, click the image icon.

- You will be given the option to upload your own image, or, if the image is posted online, to insert the appropriate URL.
- Once you’ve selected the image you want to add, you can choose how you’d like to position it in your book using the “Class” dropdown. Click save to close the Insert/Edit Image window.
- Click save along the right side of your book, and navigate to the “Preview” tab to review your work.
Adding Videos:
- Navigate to the “Edit” tab of an existing resource, or create a new Custom Content resource.
- Click into the text editor where you want to embed a video, and then click the three dots along the formatting bar at the top. From there, click the video icon.

- You will be given the option to paste in the URL or the embed code, which you can find on the host site (YouTube or Vimeo).
- Click save to close the Insert/Edit Media window.
- Click save along the right side of your book, and navigate to the “Preview” tab to review your work.